Match the corners first
Bring the corners together and hold them in place before pressing along the fold. Work on a flat surface.
YOUR FIRST FOLD.
Start with a four-step tulip. Then try animal faces or a paper cup in six steps. These four models use corner folds without cutting or gluing; choose the shape you would like to make.
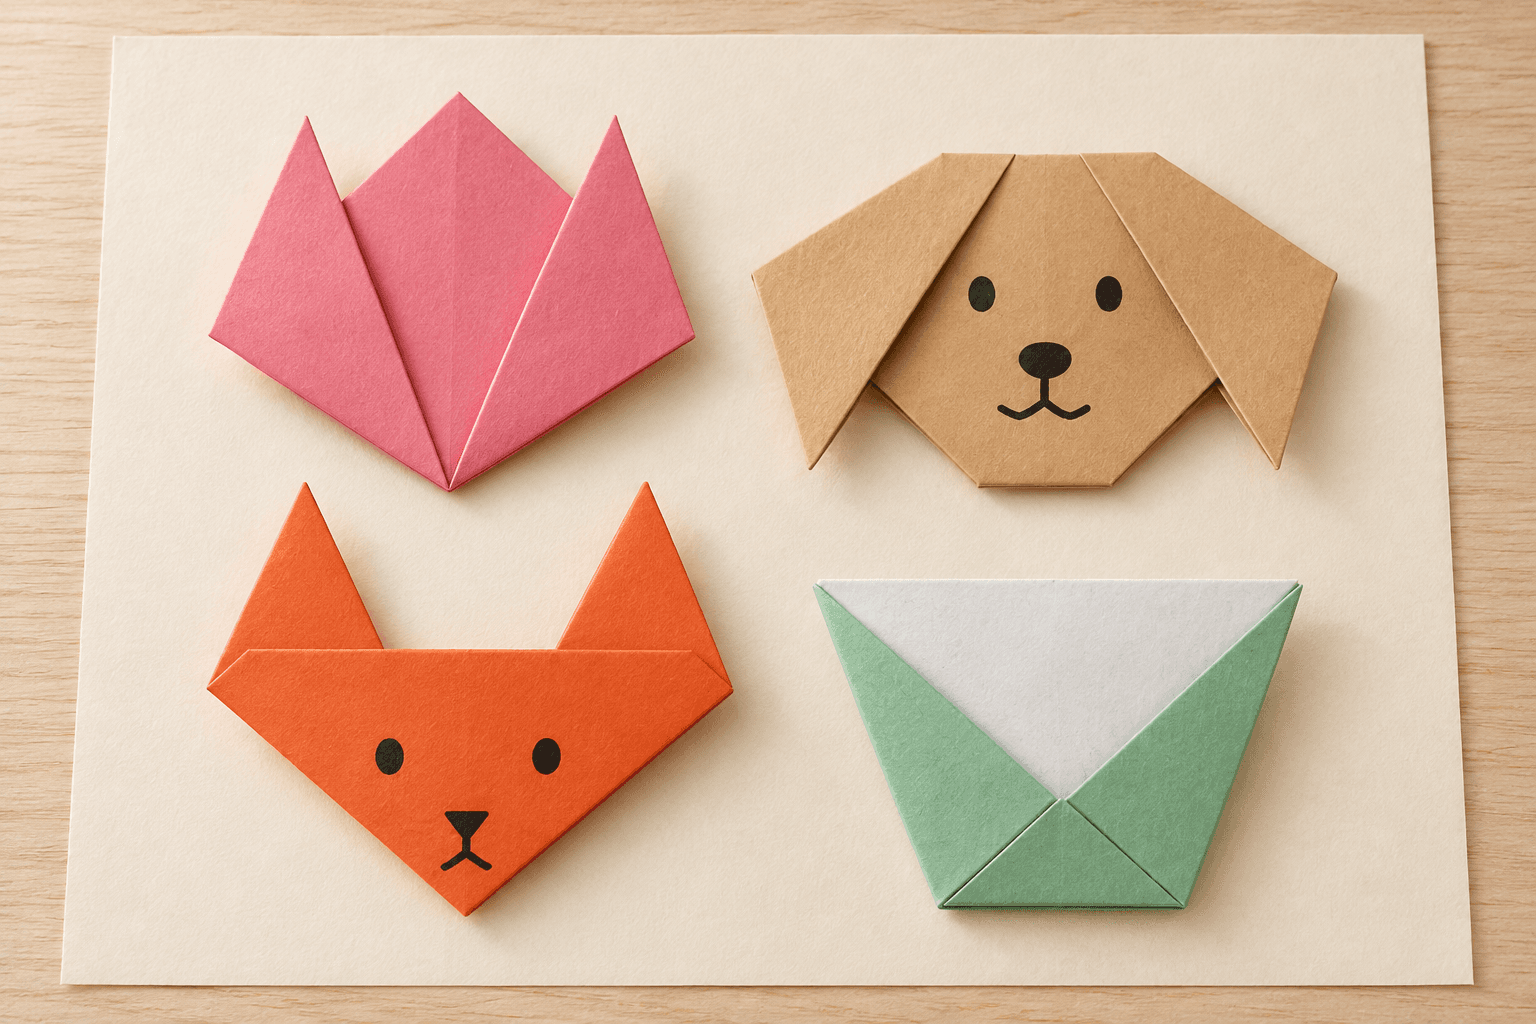
Use one square sheet for each model. A sheet around 15 cm wide gives you room to handle the corners. Paper with different colors on each side makes front and back easier to recognize. No scissors or glue are needed. A pen is optional for the dog and fox faces.

4 STEPS · 3D INSTRUCTIONS
Start here: four steps take you from a triangle to two raised petals, using a center crease as a guide. This model makes the flower only.
Start folding →
6 STEPS · 3D INSTRUCTIONS
Lower the sides of a triangle to make ears. Folding the forehead and chin behind gives you practice checking the front and back.
Start folding →
6 STEPS · 3D INSTRUCTIONS
Use the center guide to fold two corners into ears. Turn the paper over at the end to reveal the face and see how orientation changes its appearance.
Start folding →
6 STEPS · 3D INSTRUCTIONS
Overlap corners using a guide crease, then fold the front and back flaps separately to practice identifying layers. Enjoy it as a paper craft; do not fill it with water.
Start folding →Bring the corners together and hold them in place before pressing along the fold. Work on a flat surface.
Some steps ask you to fold and unfold. The crease that remains is a guide for the next fold, so press it clearly before opening the paper.
Scroll slowly through the 3D instructions. Drag the model to check the back, or scroll upward to review an earlier step.
After the dog and fox, try a cat to practice shaping the ears, chin and cheeks. To explore a different outline, try a heart and check the small folds at the top.