Bat
How to fold an origami bat
- Paper
- One square sheet of paper.
- Preparation
- Scissors are required. Make the short U-shaped snip in step 6 and stop before the center line; do not cut off a piece. No glue is needed. A pen is optional if you want to add the facial details shown in the finished model.
- What you will make
- A bat with wide wings, two ears revealed by a snip, and drawn eyes and mouth.
Make a bat with one square sheet and scissors. Collapse a triangular base, then make a U-shaped snip in the upper left layers, stopping before the center line. Fold and turn the wing layers on both sides. Fold the top down along the line joining the slit tips to reveal the ears, then draw the eyes and mouth.
Follow the 12 steps above by scrolling. Drag the model to inspect a fold from another angle, and scroll back to review a previous step.
Explore more animals origami →
Read all 12 folding steps
- Crease horizontally in half, then unfold
- Crease the first diagonal, then unfold
- Crease the other diagonal, then unfold
- Fold both sides inward
- Point the closed corner of the triangle upward
- Make a U-shaped snip in the upper left layers
- Fold the front right edge to the center
- Turn one flap from left to right
- Turn the whole model over
- Fold the left edge on the reverse side to the center
- Turn the reverse flap from left to right
- Fold down the top corner to reveal the ears
Tricky points and what to check
Where should the snip stop?
Steps to review: 6
Cut a U shape from the left edge, curving downward and then upward. Stop at the dot before the center line; do not cut off a piece.
The ears do not appear
Steps to review: 10・11・12
After turning over, fold the left wing and turn the left flap to the right. Fold the top down between the slit tips, turning the attached ear lobes with it.
Step 12:Fold down the top corner to reveal the ears
Three views from the same 3D folding sequence. Read from top to bottom.
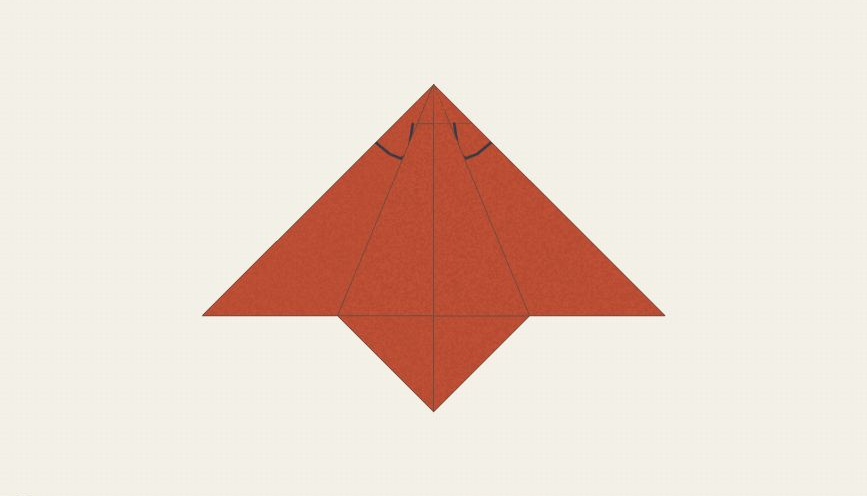
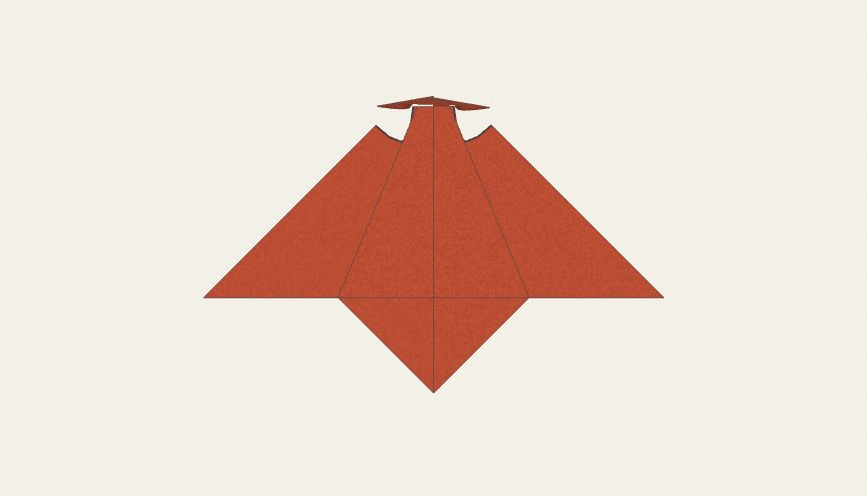
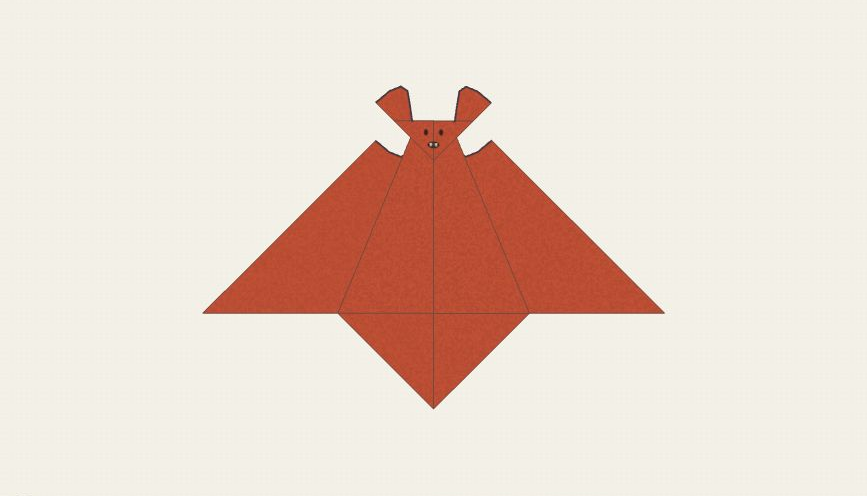
Make a bat with one square sheet and scissors.
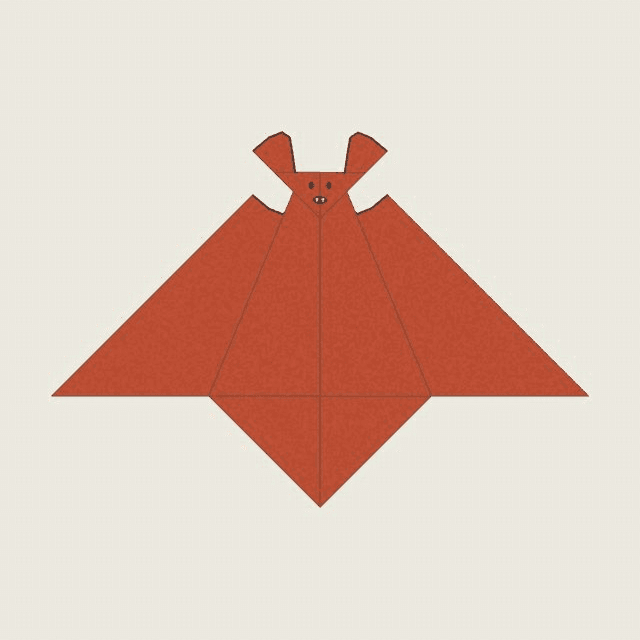
Completed model · Loading 3D…
Drag to rotate · Right-drag up/down to zoomSwipe to rotate · Pinch to zoom