Crane
How to fold an origami crane
- Paper
- One square sheet of paper.
- Preparation
- No cutting or gluing is included in these folding steps. Begin with “Fold in half diagonally”.
- What you will make
- A crane with a neck, tail, and two wings.
Fold a crane by opening and flattening the pockets, forming long diamonds, and shaping the neck, tail, and head. When lifting the bottom corner, follow the existing creases as you bring the sides inward. Open the layers before raising the neck and tail inside them.
Follow the 41 steps above by scrolling. Drag the model to inspect a fold from another angle, and scroll back to review a previous step.
Explore more animals origami →
Read all 41 folding steps
- Fold in half diagonally
- Fold the triangle in half again
- Lift the folded triangle upright
- Open the pocket and squash it flat
- Turn the whole model over
- Lift the triangle on the back
- Squash the back pocket flat
- Point the open corner down
- Fold the left edge to the center
- Fold the right edge to the center
- Crease the top triangle
- Unfold, keeping the creases
- Lift the bottom corner
- Fold both sides inward
- Turn the diamond over
- Fold the back left edge to the center
- Fold the back right edge to the center
- Unfold both sides on the back
- Lift the bottom corner on the back
- Fold the back into a narrow diamond
- Narrow the lower left edge
- Narrow the lower right edge
- Keep the narrow folds and turn over
- Narrow the lower left edge on the back
- Narrow the lower right edge on the back
- Crease the base of the neck
- Unfold the neck section
- Crease the base of the tail
- Unfold the tail section
- Open the layers at the neck
- Open the neck crease fully
- Reverse-fold the neck upward and close
- Open the layers at the tail
- Open the tail crease fully
- Reverse-fold the tail upward and close
- Crease the head
- Unfold the head crease
- Open the neck layers for the head
- Open out the head crease
- Inside reverse-fold the head
- Open the wings, neck and tail together
Tricky points and what to check
Which pocket should I open?
Steps to review: 3・4・6・7
Open and flatten the pocket in the raised triangle. Turn the whole model over before repeating on the back; compare the white interior with the illustrations.
Which way does the neck rise?
Steps to review: 26・27・30・31・32
Review the crease-and-unfold stage at the neck base. Open the layers, fully open the crease, then raise the neck inside and close the layers.
Step 4:Open the pocket and squash it flat
Three views from the same 3D folding sequence. Read from top to bottom.

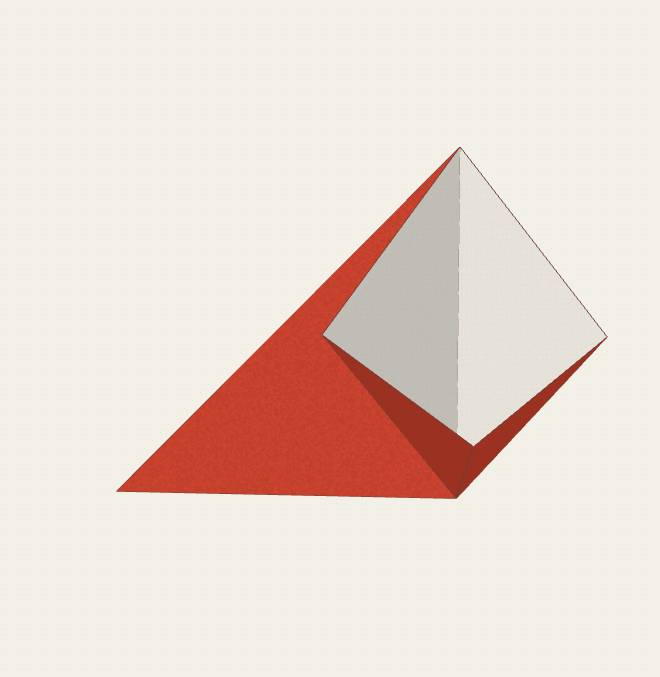
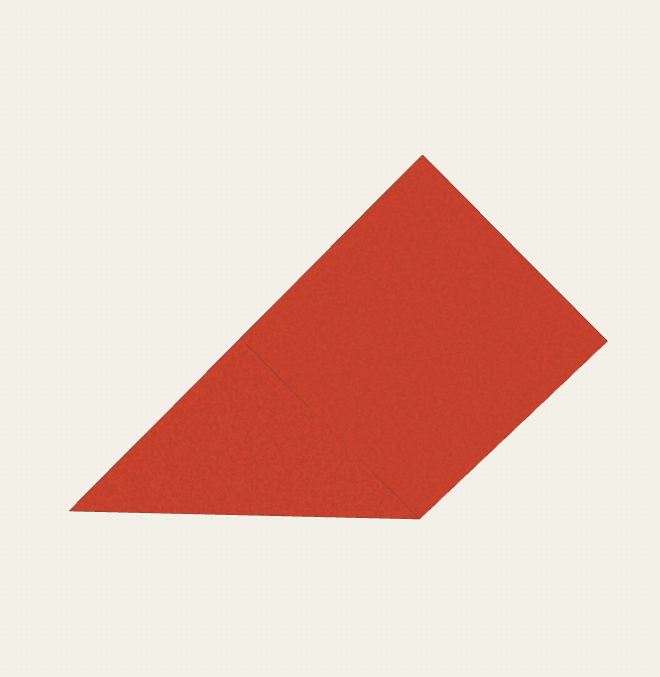
Fold a crane by opening and flattening the pockets, forming long diamonds, and shaping the neck, tail, and head.
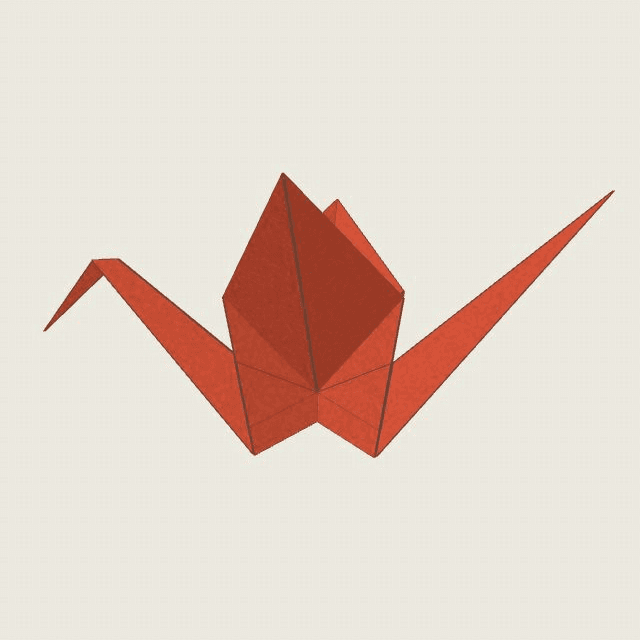
Completed model · Loading 3D…
Drag to rotate · Right-drag up/down to zoomSwipe to rotate · Pinch to zoom