House
How to fold an origami house
- Paper
- One square sheet of paper.
- Preparation
- No cutting or gluing is included in these folding steps. Begin with “Mark the vertical center”.
- What you will make
- A house with a folded roof and sides raised behind.
Make a house by folding the sides to the center, opening the pockets, and flattening them into a roof. The diagonal creases made beforehand guide the roof shape. Inspect the inner layers as well as the outline when opening each pocket.
Follow the 10 steps above by scrolling. Drag the model to inspect a fold from another angle, and scroll back to review a previous step.
Explore more everyday origami →
Read all 10 folding steps
- Mark the vertical center
- Fold the top edge to the bottom edge
- Fold the right edge to the center
- Fold the left edge to the center
- Crease the right roof diagonally
- Crease the left roof diagonally
- Open and squash the left roof pocket
- Open and squash the right roof pocket
- Raise the left side toward the back
- Raise the right side toward the back
Tricky points and what to check
The open pocket does not look like a roof
Steps to review: 5・6・7・8
Check that both diagonal roof creases were made first. Open and flatten the left and then right pocket, comparing the white interior and red roof with the illustrations.
Which part rises after making the roof?
Steps to review: 9・10
Raise the left and right sides backward, rather than the roof corners. Inspect the side-panel movement from the side after flattening both roof pockets.
Step 7:Open and squash the left roof pocket
Three views from the same 3D folding sequence. Read from top to bottom.
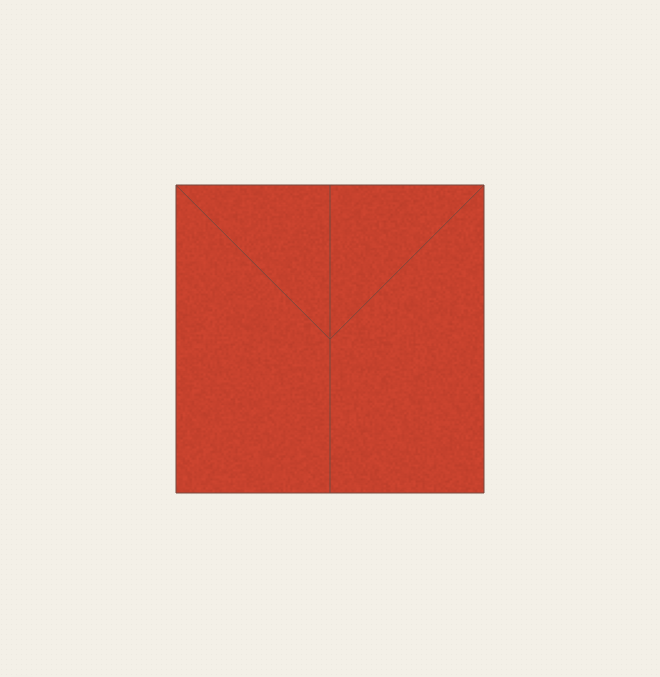
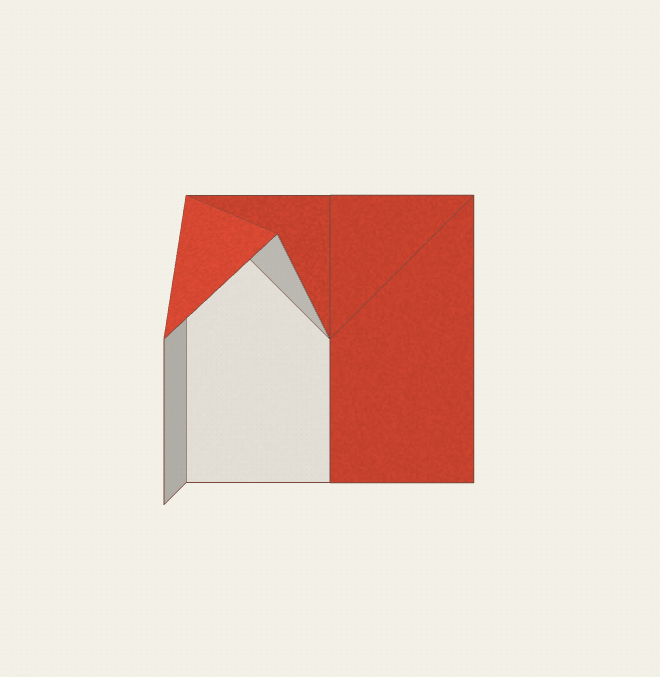
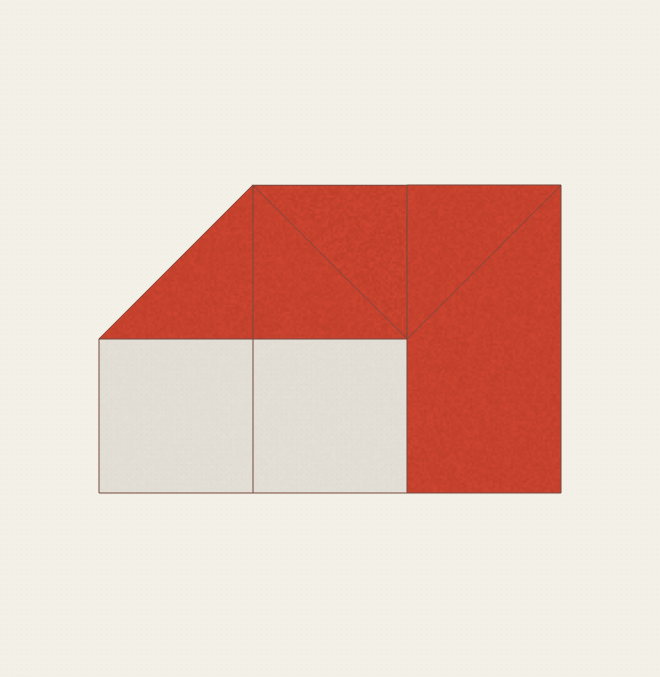
Make a house by folding the sides to the center, opening the pockets, and flattening them into a roof.
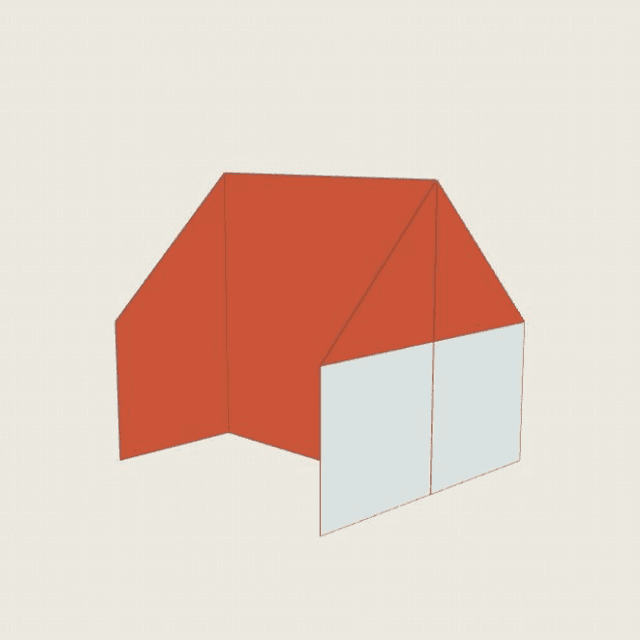
Completed model · Loading 3D…
Drag to rotate · Right-drag up/down to zoomSwipe to rotate · Pinch to zoom