Leaf
How to fold an origami leaf
- Paper
- One square sheet of paper.
- Preparation
- No cutting or gluing is included in these folding steps. Begin with “Turn the colored side up”.
- What you will make
- A leaf with a stem and folded veins.
Fold a leaf by forming a stem and vein creases in a triangle, then opening the paper and shaping the outline. Several stages involve folding and unfolding; check which crease each edge should meet. Keep the alternating mountain and valley folds when finishing the veins.
Follow the 20 steps above by scrolling. Drag the model to inspect a fold from another angle, and scroll back to review a previous step.
Explore more flowers & plants origami →
Read all 20 folding steps
- Turn the colored side up
- Fold diagonally into a triangle
- Fold a narrow strip behind the long edge for the stem
- Fold the top corner to the bottom edge and unfold
- Fold the bottom edge to the center crease and unfold
- Fold the top corner to the center crease and unfold
- Fold the top corner behind to the lower crease and unfold
- Fold the bottom edge behind to the upper crease and unfold
- Fold the bottom edge behind to the nearest crease and unfold
- Fold the top corner behind to the nearest crease and unfold
- Open the leaf body while keeping the stem folded
- Turn over to see the contour folds
- Fold the lower right corner inward
- Make a small fold at the top of the right contour
- Make a small fold at the bottom of the right contour
- Fold the lower left corner inward
- Make a small fold at the top of the left contour
- Make a small fold at the bottom of the left contour
- Turn to the front to shape the veins
- Keep the mountain and valley creases to finish
Tricky points and what to check
Should the crease-making folds stay closed?
Steps to review: 4・5・6・7・8・9・10
These steps fold and unfold. Check whether the top corner or bottom edge moves and which crease it meets, then return to the open position after each step.
Opening flattens the stem or veins
Steps to review: 3・11・19・20
Keep the narrow reverse-folded stem while opening the leaf body. At the end, turn to the front and review the finish that retains the mountain and valley folds of the veins.
Step 11:Open the leaf body while keeping the stem folded
Three views from the same 3D folding sequence. Read from top to bottom.
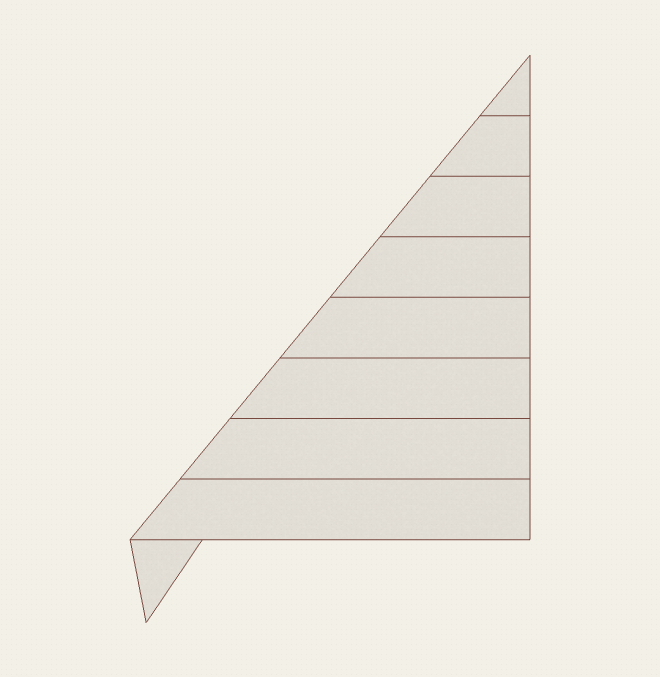
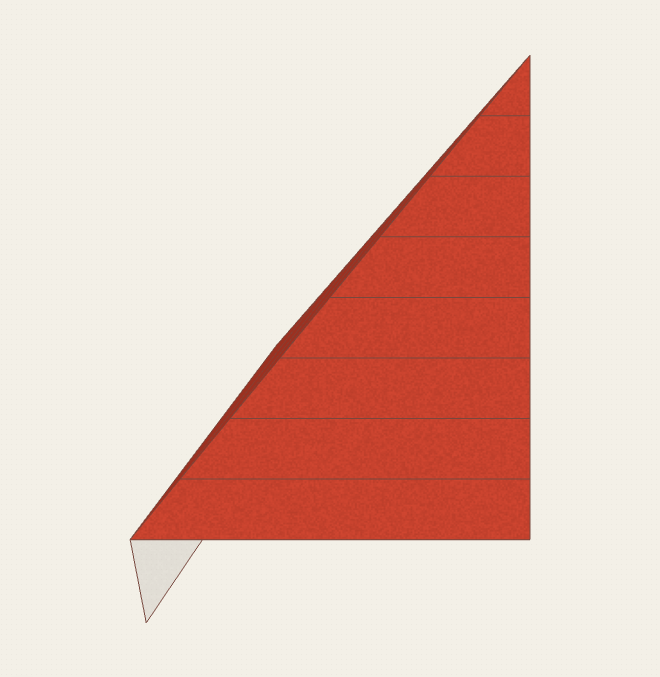
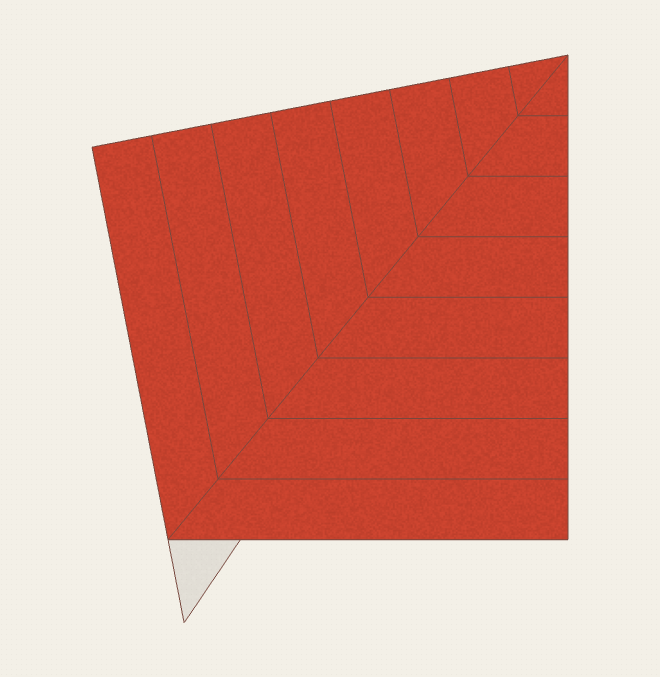
Fold a leaf by forming a stem and vein creases in a triangle, then opening the paper and shaping the outline.
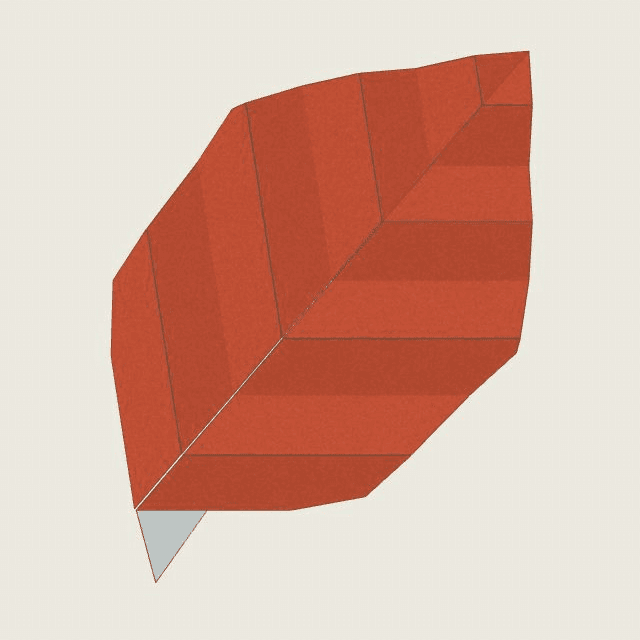
Completed model · Loading 3D…
Drag to rotate · Right-drag up/down to zoomSwipe to rotate · Pinch to zoom