Star
How to fold an origami star
- Paper
- One square sheet of paper.
- Preparation
- No cutting or gluing is included in these folding steps. Begin with “Crease one diagonal”.
- What you will make
- A flat, asymmetric five-pointed star folded from one sheet, rather than a regular pentagram.
Fold a flat star from one square sheet without scissors or glue. Start colored side up, crease, and collapse into a triangle. Fold opposite edges to the center, then pull the sides open with the inner creases. Lower the right tip and return only the front tip upward. Fold back the left side and turn over to finish. Press the creases firmly and use it for Christmas or Tanabata decorations.
Follow the 13 steps above by scrolling. Drag the model to inspect a fold from another angle, and scroll back to review a previous step.
Explore more decorations origami →
Read all 13 folding steps
- Crease one diagonal
- Crease the other diagonal
- Crease horizontally in half
- Bring the sides inward and collapse into a triangle
- Fold the front right edge to the center
- Fold the opposite edge on the back to the center
- Pull the side corners open
- Bring the right tip down to the lower tip
- Bring the top to the bottom edge to make a guide crease
- Fold the front tip back toward the upper right
- Fold the left side across to the right
- Fold the layered tip back toward the left
- Turn over to finish the star
Tricky points and what to check
The sides will not open
Steps to review: 7
Open the inner creases along with the outer corners. View the model from an angle to see the connected layers move together.
I fold back the wrong tip
Steps to review: 8・10
Return only the front tip that you lowered from the right. Leave the rear downward tip in place.
Step 7:Pull the side corners open
Three views from the same 3D folding sequence. Read from top to bottom.

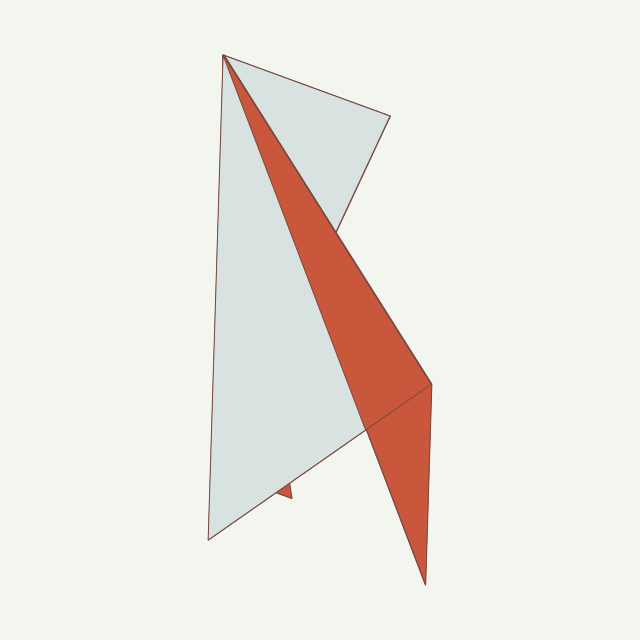

Fold a flat star from one square sheet without scissors or glue.

Completed model · Loading 3D…
Drag to rotate · Right-drag up/down to zoomSwipe to rotate · Pinch to zoom