Bear face
How to fold an origami bear face
- Paper
- One square sheet of paper.
- Preparation
- No cutting or gluing is included in these folding steps. Begin with “Crease the center and unfold”. A pen is optional if you want to add the facial details shown in the finished model.
- What you will make
- A bear face with shaped ears, muzzle, and chin.
Fold a bear face by folding the side corners out into ears, then shaping the ear tips, muzzle, and chin. First fold up the small tip of the front layer, then lift the whole muzzle. The tip ends up behind the white muzzle. Finish with a small backward fold of the lower back corner, leaving a chin below the muzzle. Use the ears as landmarks to keep track of the paper orientation when turning it over.
Follow the 12 steps above by scrolling. Drag the model to inspect a fold from another angle, and scroll back to review a previous step.
Explore more animals origami →
Read all 12 folding steps
- Crease the center and unfold
- Fold the top corner down
- Fold the right corner inward
- Fold the left corner inward
- Fold the right ear outward
- Fold the left ear outward
- Fold the right ear tip
- Fold the left ear tip
- Turn the whole model over
- Fold up the small tip of the front layer
- Lift the muzzle with its tip tucked behind
- Fold the back corner to shape the chin
Tricky points and what to check
The back layer lifts with the muzzle
Steps to review: 9・10・11・12
After turning the model over, fold up the small front tip first, then lift the whole muzzle. Leave the back corner in place and tuck the tip behind the white muzzle. Finally, fold only the lower chin tip backward, leaving a surface below the muzzle as shown in the illustrations.
The ears remain hidden inside
Steps to review: 3・4・5・6・7・8
After folding the side corners inward, fold each back outward to form an ear. Check these outward folds before shaping the small ear tips.
Step 12:Fold the back corner to shape the chin
Three views from the same 3D folding sequence. Read from top to bottom.
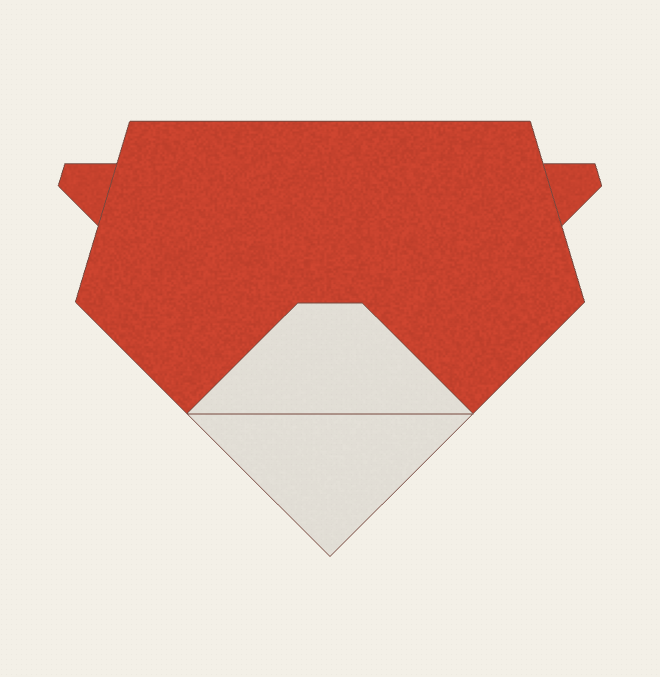
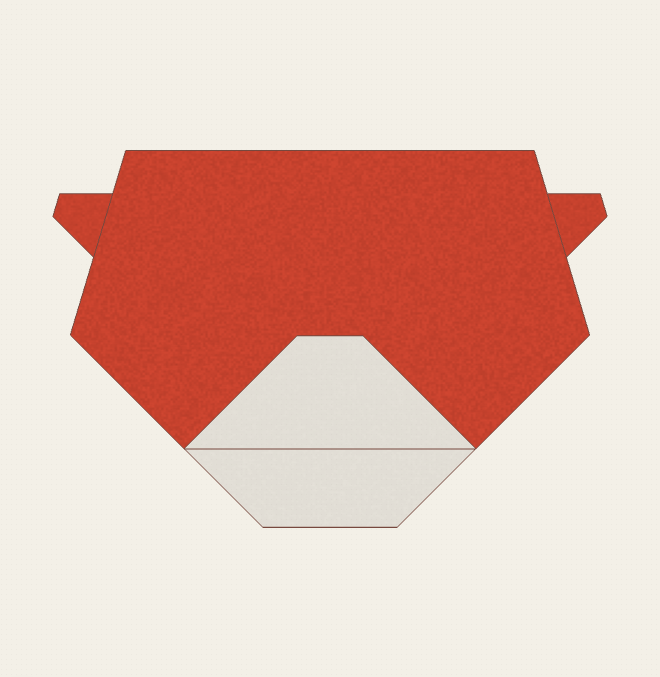
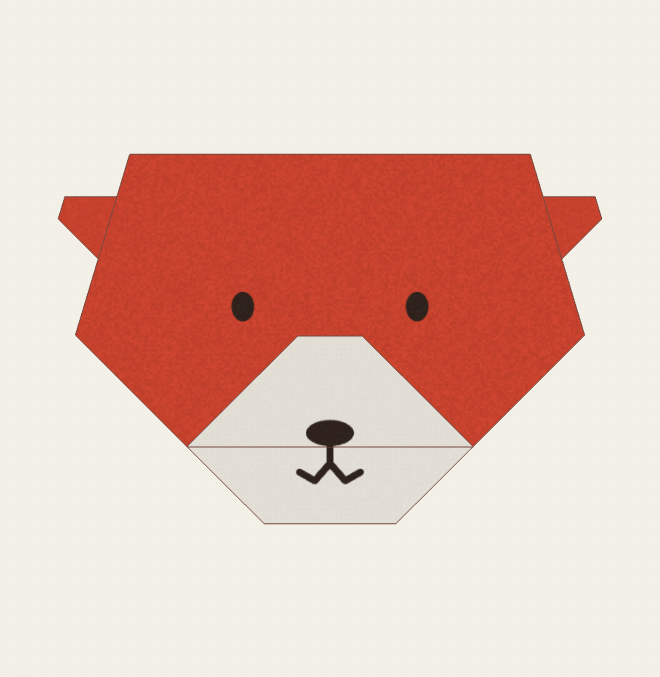
Fold a bear face by folding the side corners out into ears, then shaping the ear tips, muzzle, and chin.
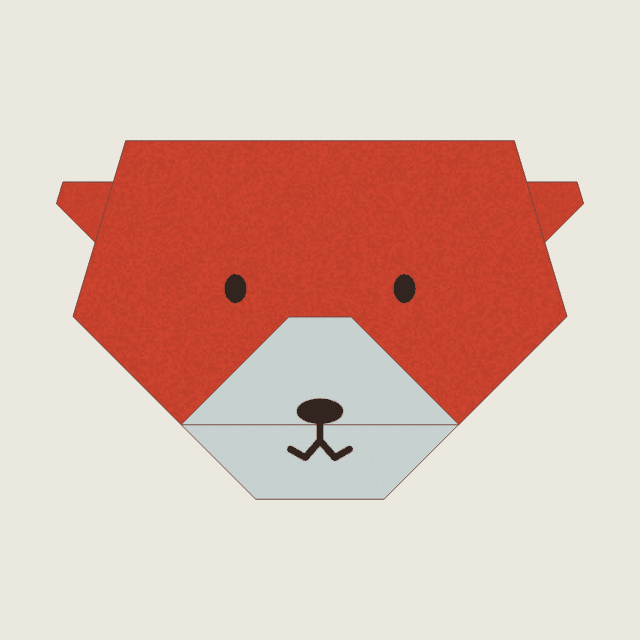
Completed model · Loading 3D…
Drag to rotate · Right-drag up/down to zoomSwipe to rotate · Pinch to zoom